Stuff:
Find
Here

This tutorial is entirely of my invention, not is permission to
dub it in other sites without my permission
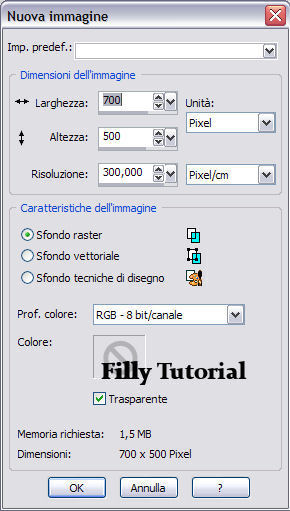
Open a new image with
these settings
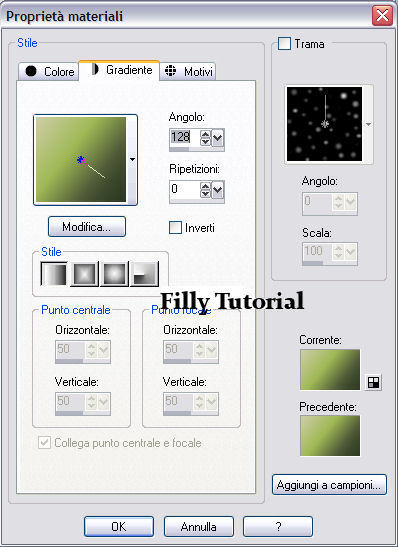
Fill with the
gradiente Corel_06_044 with these settings
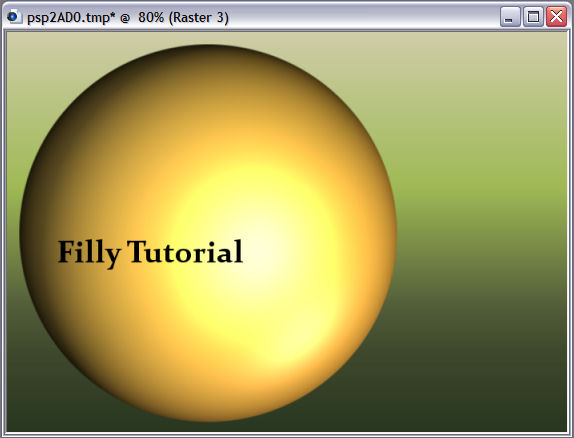
New
Raster Layer
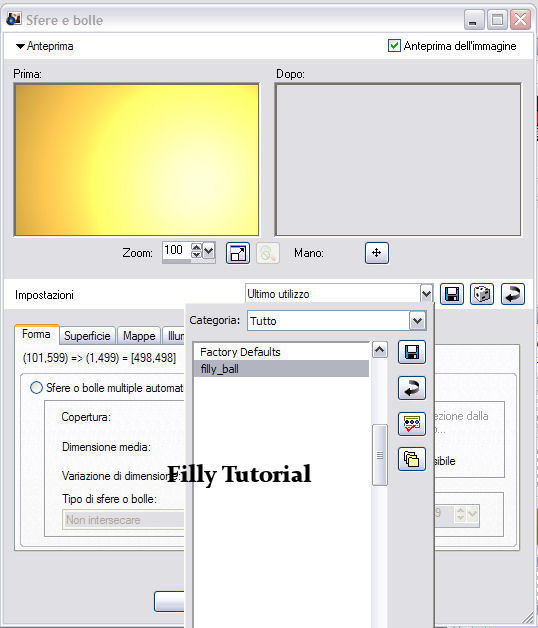
Effects - Artistic Effects- Balls and Bubbles
Open the drop down menu and load the preset filly_ball
which you previously have put in your psp folder presets
Move it a bit to the left and resize to 95%
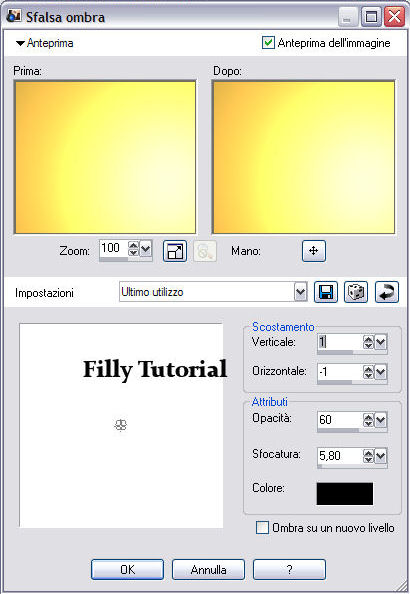
Effects 3D - Drop Shadow with these settings
Load the selection filly_Selezione_elisse
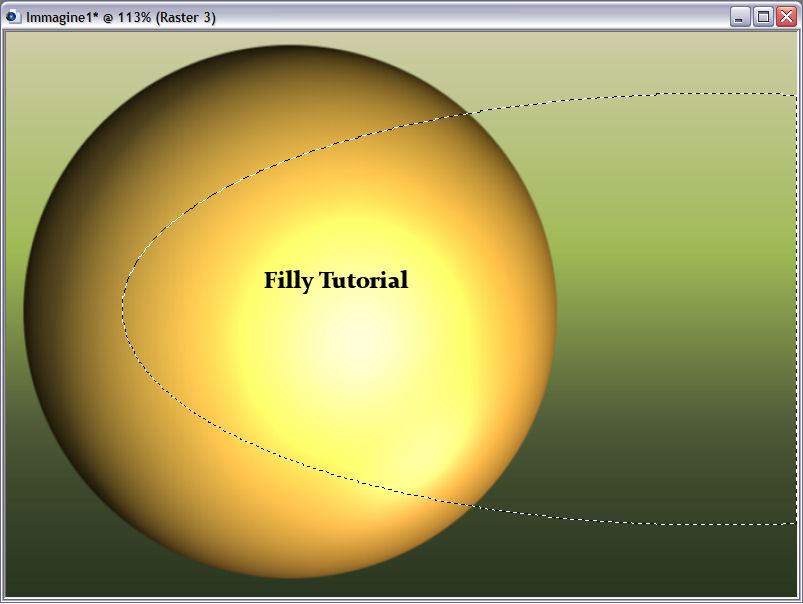
Open
the background image "sfondo" copy and paste into selection
Layer Palette - blend mode to Luminance
Effect3D - Drop Shadow with the same settings as above
New Raster Layer
Load the selection filly_Selezione_linee and fill with a gold
gradiente
Effects3D - Drop Shadow and use the same settings as before
Deselect
New Raster Layer
go to your brush tool - put your forground colore to gradiente
gold
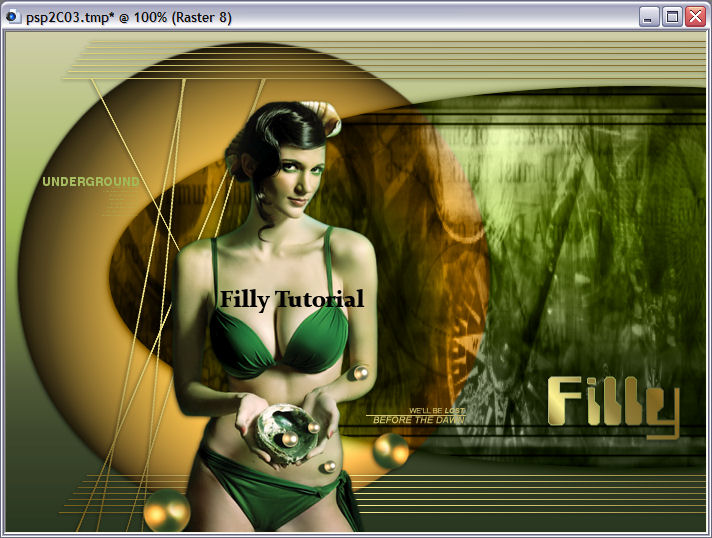
and apply the writing

Write your name with the Font Computerfont
Put the gradiente Corel_06_044 as your foreground color and your
gold gradiente as your background color
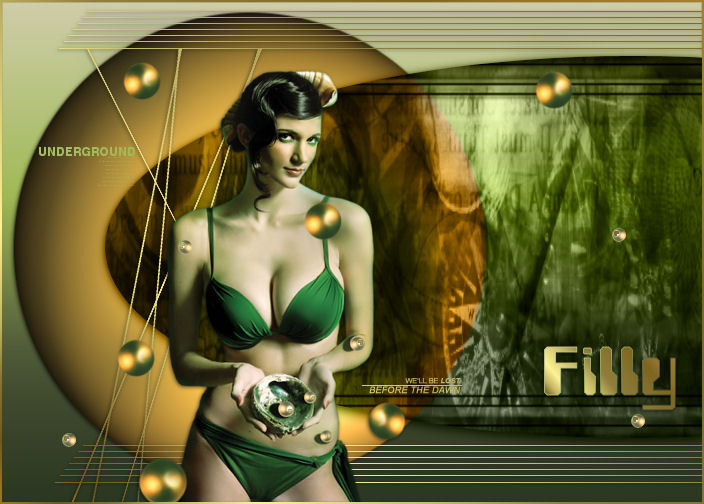
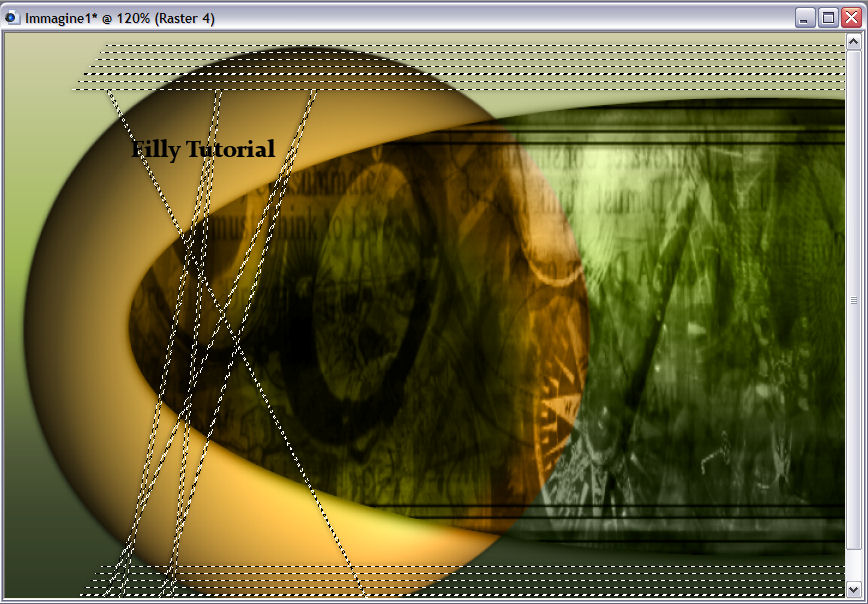
Open Tube_filly (1526) Beauty - copy and paste as a new layer
position it as shown here on the image below
Effects3D - Drop Shadow and use the same settings as before
Open Tube_filly_sfere, copy and paste as a new layer
Effects3D - Drop Shadow again with the same settings as before
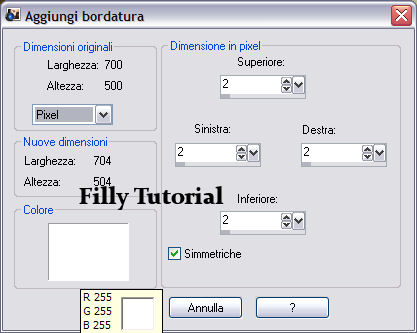
Add border with these settings
Go to tool palette, Magic wand with these settings

Select the border and fill with your gold gradiente
Deselect
Save as Jpg and your tag is ready