
What You
Will Need
Paint shop Pro 9 - 10
My supplies zip
Here
Xero - Fuzzifier
Filters Unlimited

Thanks to
Ely
for the translation in English
This tutorial is
entirely of my invention, not is permission to dub it in other
sites without my permission
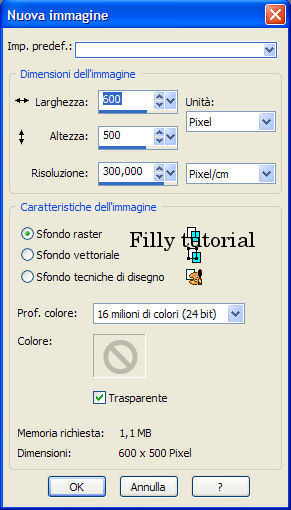
Open a new image with these settings:
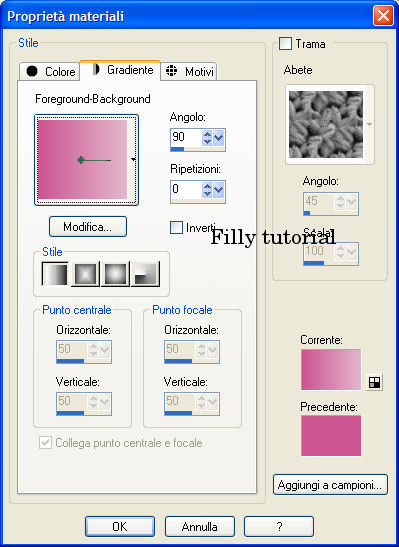
Set this as first
level's colour: #e3b7cc
as background: #cc5491
Using these, set the
gradient as image
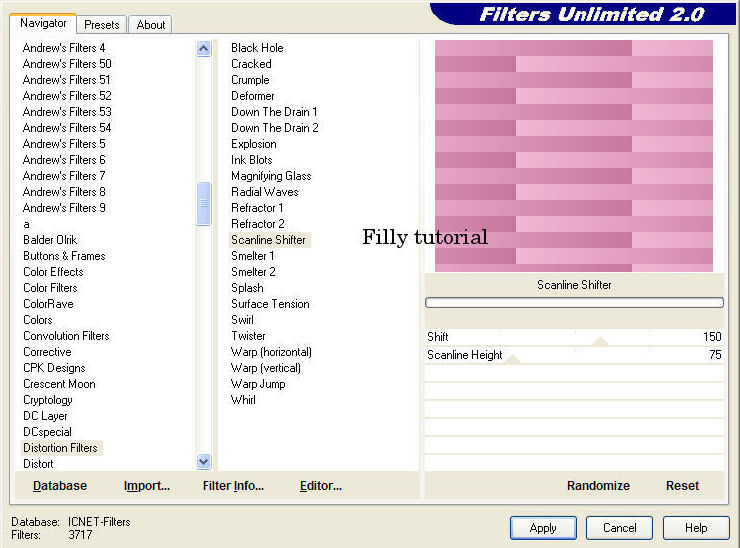
Fill the canvas and
apply the Filter unilimited - Distortion Filter - Scaline
Shifter
with these settings
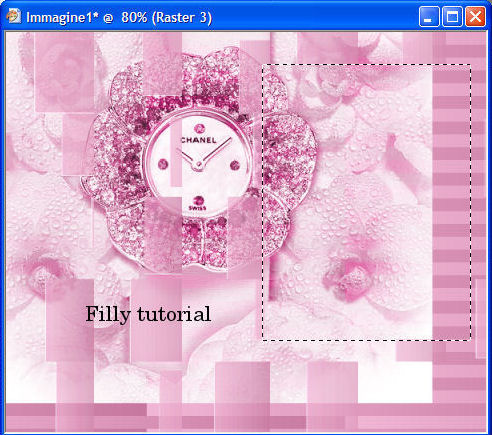
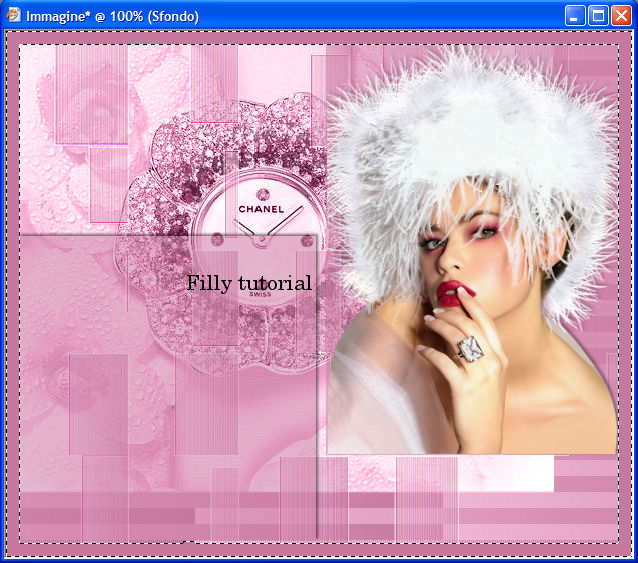
Open the
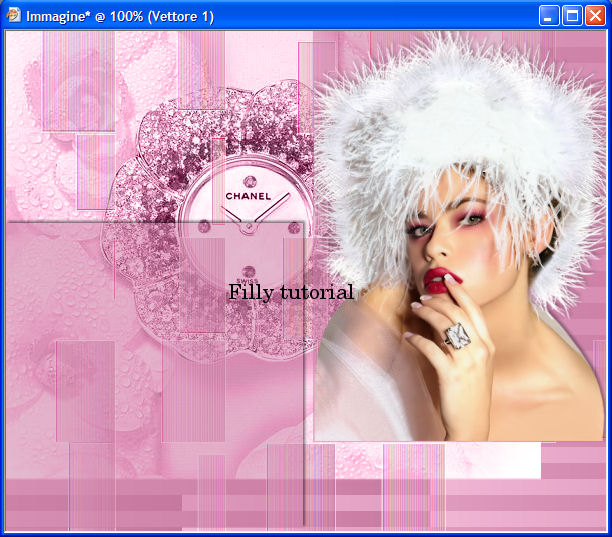
"imagine_chanel" and place it as image
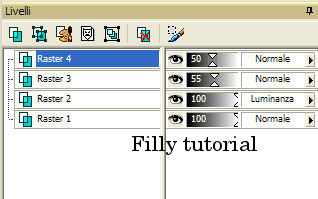
Blend Mode -
Luminance
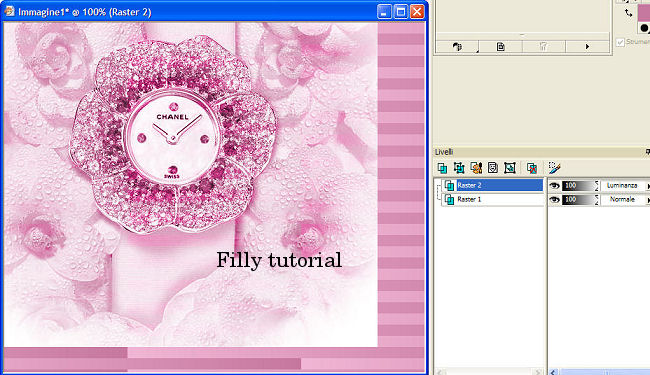
New raster level
Load the chanel_1
selection
Fill with the
gradient
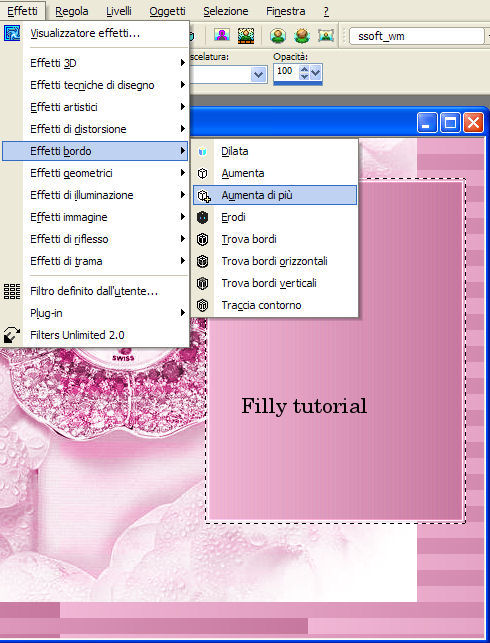
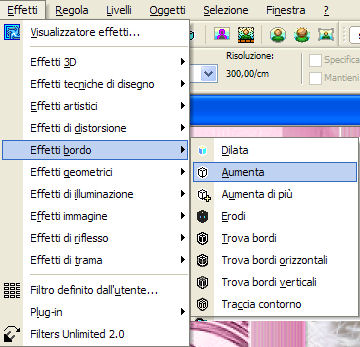
Apply the Edge effect - Enhance
More
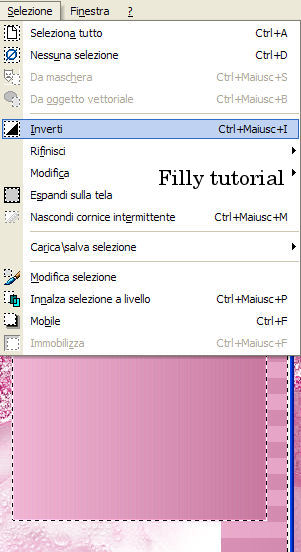
Selection - Invert
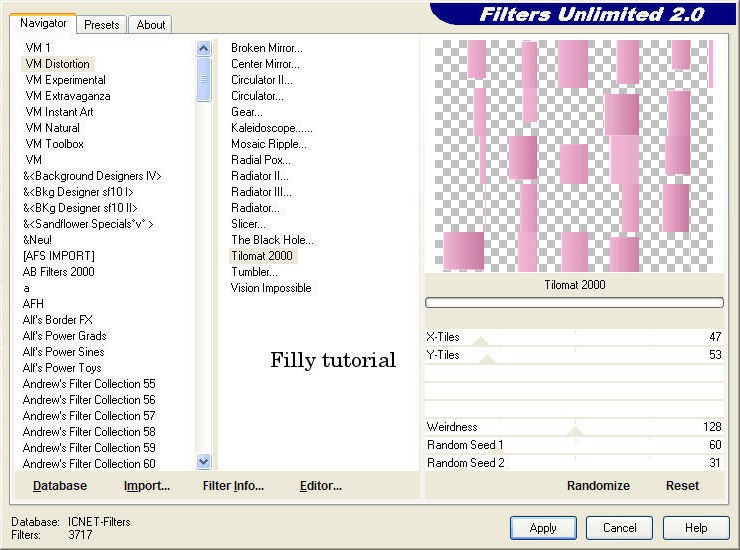
Apply the Vm
distortion Tilomat 2000 filter with these settings
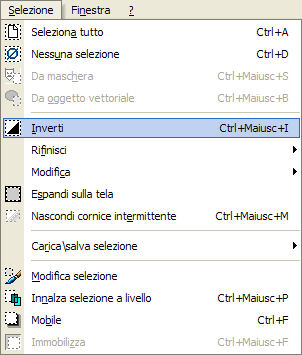
Selection - Invert
Delete with the
"delete" button of the keyboard
Select None
Apply the edge
effect - Enhance
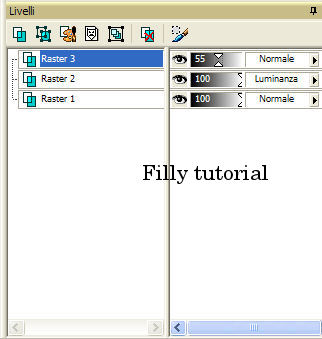
Low the opacity at
55%
New raster level
Load the chanel_1 selection, fill with this colour: #c7789f
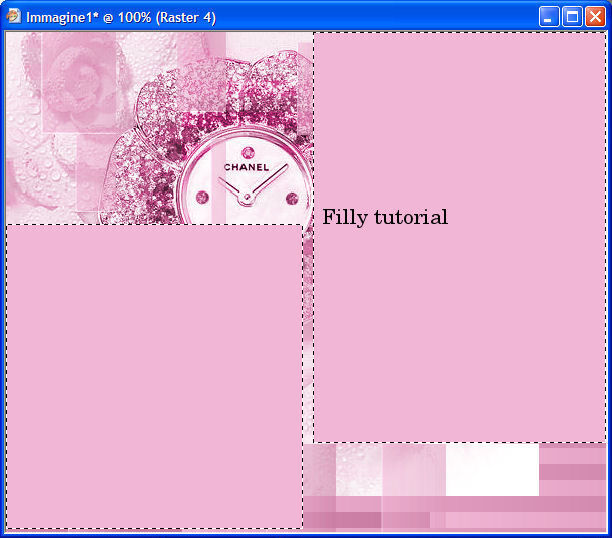
Select None
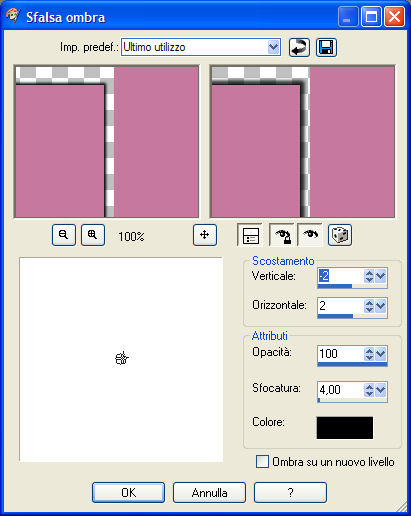
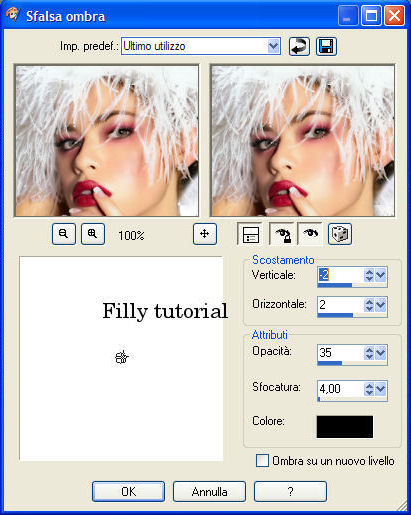
Drop Shadow with these settings
Low opacity at 55%
Open the Tube_filly
(1480) Glamour
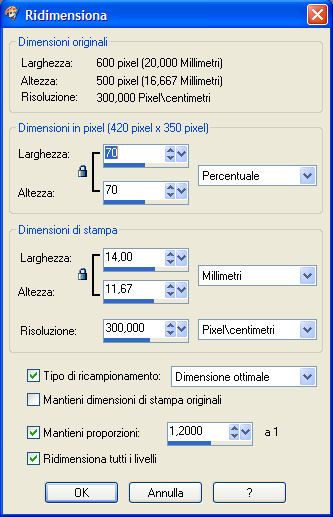
Resize with these settings
New raster level
Place the tube as image
Drop Shadow with
these settings
Adjust - Sharpness

Merge Visible
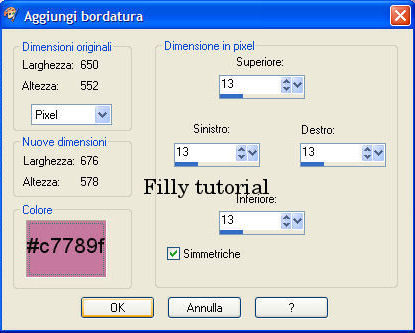
Add Edge with these settings
With the magic
wand, softening and tolerance on 0 click on edge
Duplicate the image until you'll have 6 levels
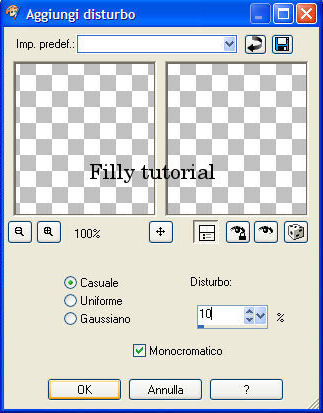
Adjust - Add Noise
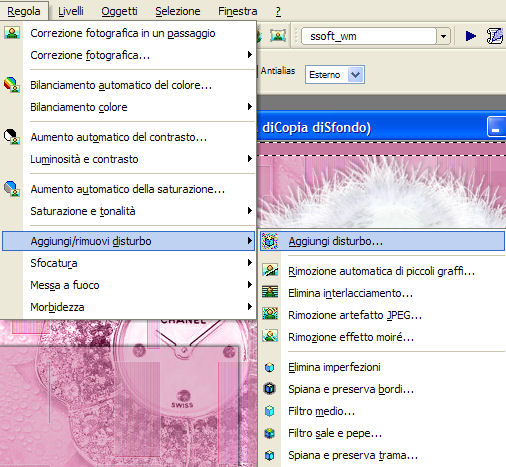
Place yourself on
the first background's level
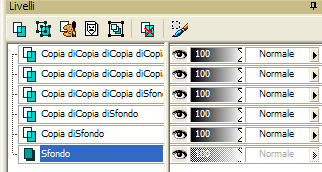
Add Noise with
these settings
On 2nd level change
value from 10 to 15
On 3rd level change value from 15 to 20
On 4th level change value from 20 to 25
On 5th level change value from 25 to 30
On 6th level change value from 30 to 35
Select None
Go back to first background's level
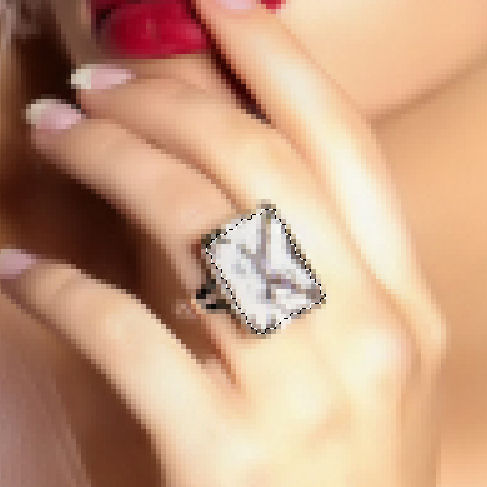
Set the Freehand Selection like this

Surround the ring's
rock
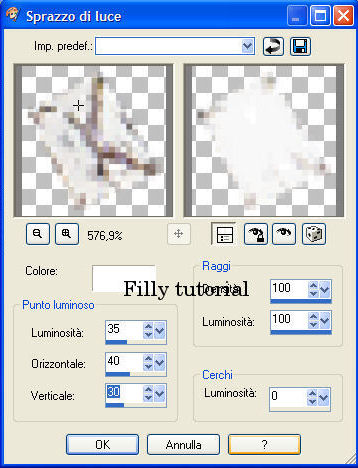
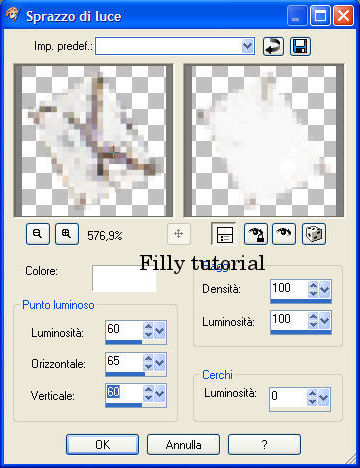
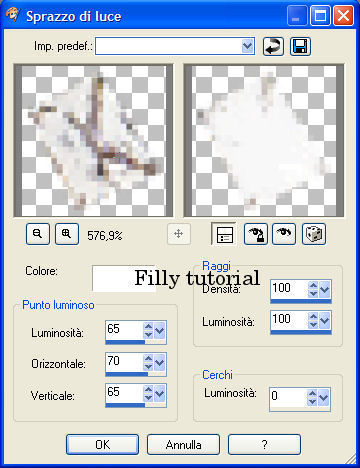
Illumination's
effect- Sunburst
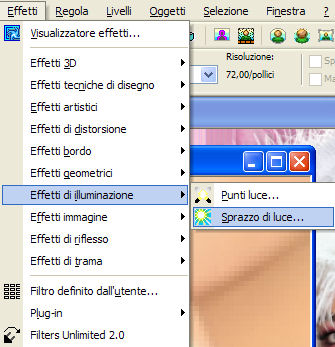
Use these settings
for each level
1st level
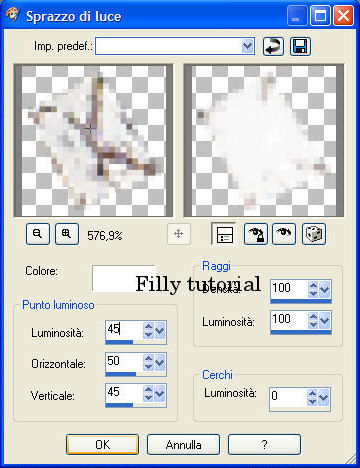
2nd level
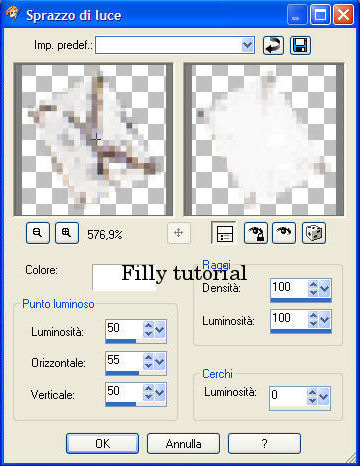
3rd level
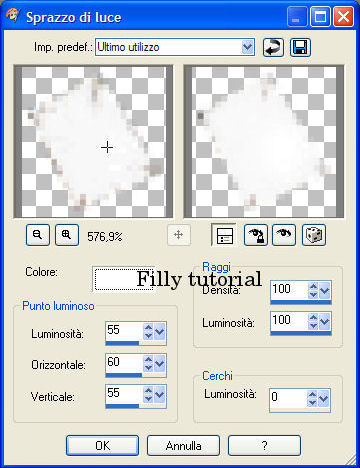
4th level
5th level
6th level
Select None
Save as psp image and do not close paint shop pro
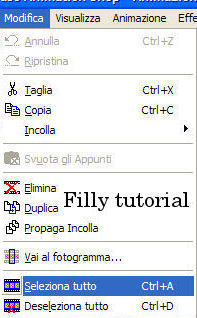
Open your tag with Animation
Modify - Select all
Open the Tube_filly
Chanel flower time_sequence
Modify- Select all - copy and paste on the selected frame
On the 1st frame
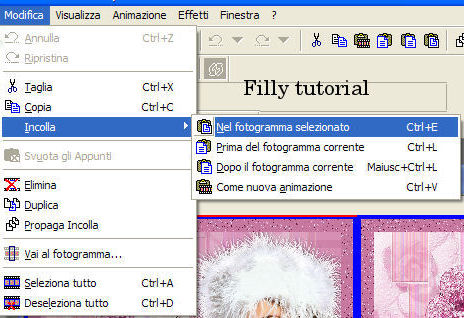
As image
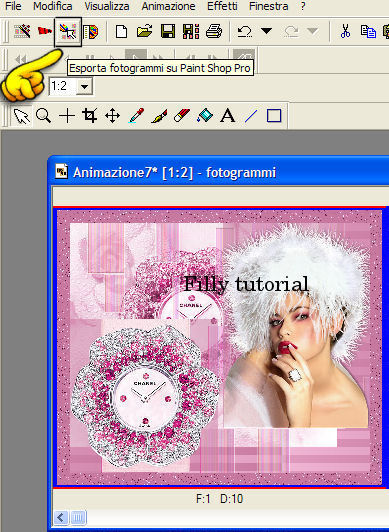
Export frames to Paint
Shop Pro
Set the Freehand
Selection like this

Surround the petals
as image

Place yourself on
1st frame
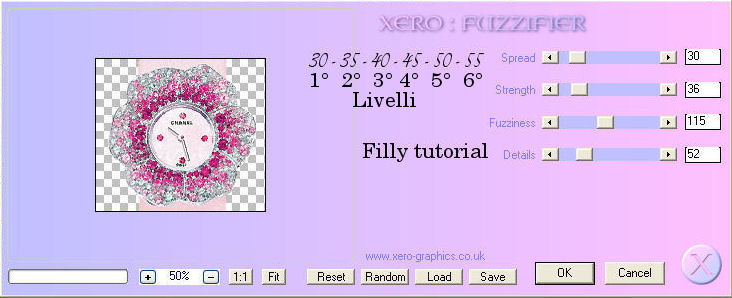
Apply the plugin Xero - Fuzzifier
With these settings on each level
Select None
From the background's colour set the Ruby gradient as image

Set the text with
these settings
Chanel

is

Shocking

Place the writing
like this

Convert on raster
level
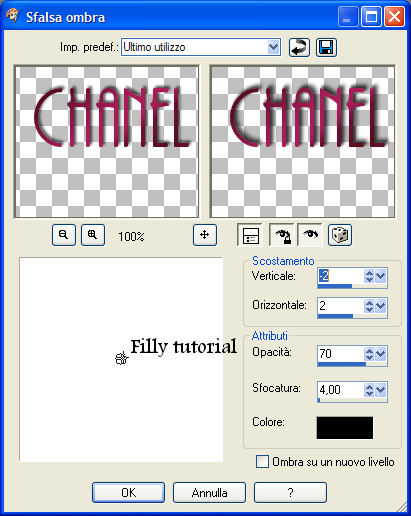
Drop Shadow with these
settings
Duplicate the
writing until you'll have 6 levels and so, start reunite with
the frame's levels
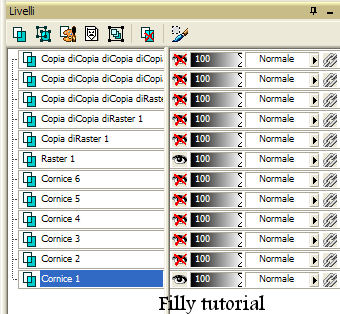
Open all levels
again and save as psp image
Open again with animation
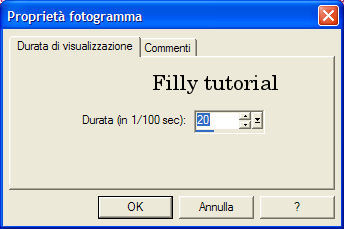
Select all - Animation - Frame Property like this
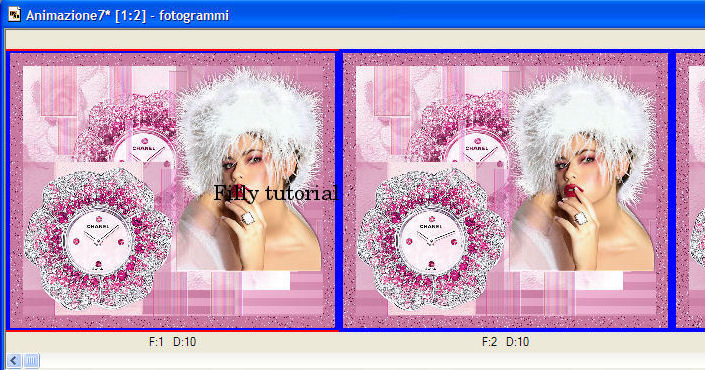
Save the animation
and your tag is ready.