Animation shop

This tutorial is
entirely my own creation, it is not permitted to reproduce it on
any other web sites with out my written permission
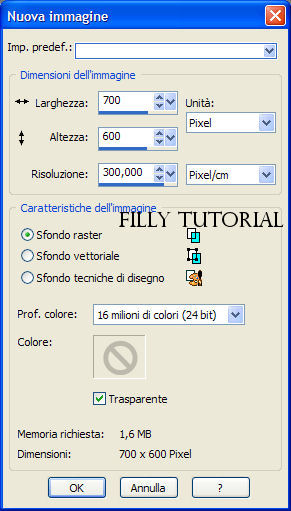
Open a new image with the following
settings:
First change your
foreground and background to black
next in your forground change to gradiente "BlueDreams" ...this
because otherwise it will not have the black blend
below the settings for the gradient, and fill your canvas

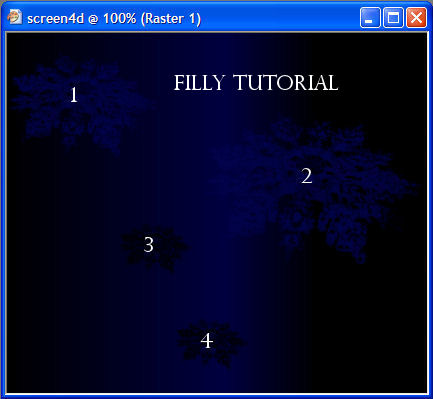
Now open your brush tool and
find the tool you downloaded previously
with these settings and this
color #01034d

The second one is
this one with color #01034d

The third and forth
with this color #000000

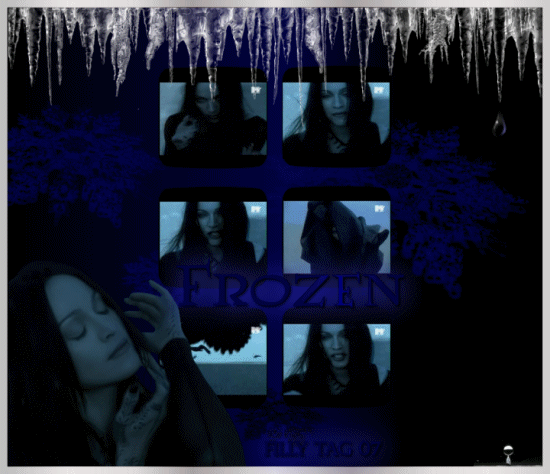
The result should
resemble the one here below
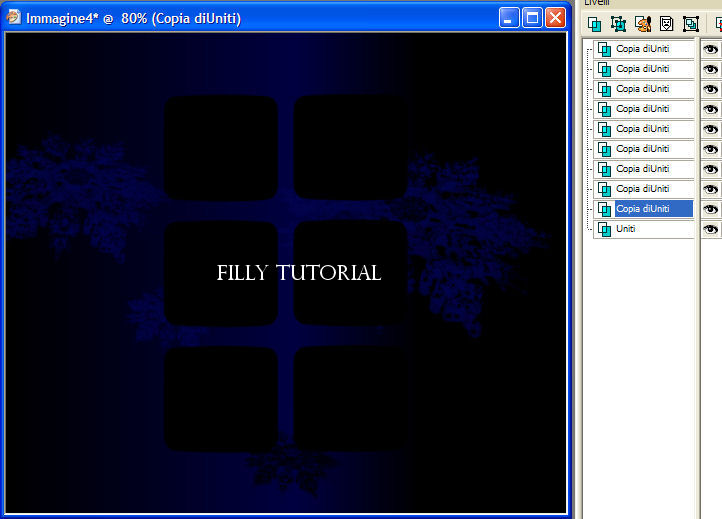
Open the template
tube, copy and paste as a new layer onto your canvas, it will
position itself in the center
Layers merge
visible
Duplicate this merged layer for a total of 10 times
Save this image
with all the layers intact and open it in Animation Shop
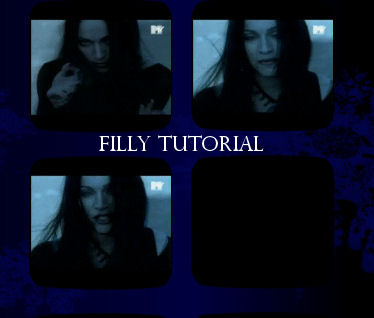
Open gif_1, select
all, copy and paste onto your first frame of your video,
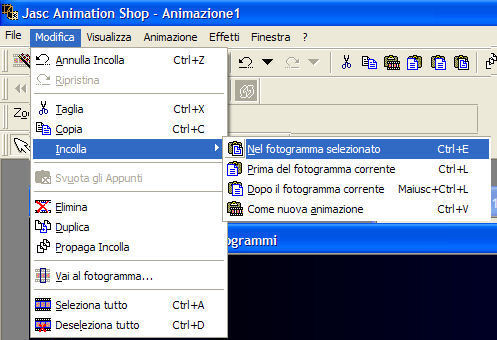
be careful not to
go outside the black border and that all is perfectly alligned
Repeat the same
procedure with gif_2 and paste into the second frame
Repeat again with
gif_3 and paste into the third frame
Again repeat with
gif_4 and paste into the fourth frame
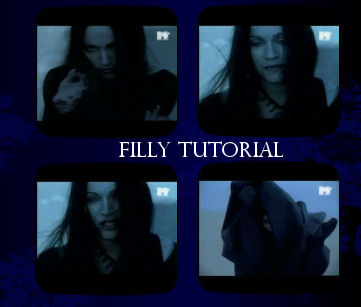
Again repeat with
gif_5 and paste into the fifth frame
And once more
repeat with gif_6 and paste into the sixth frame
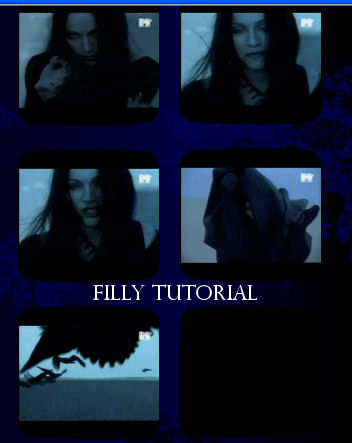
Go back to your first
frame...and select it.....
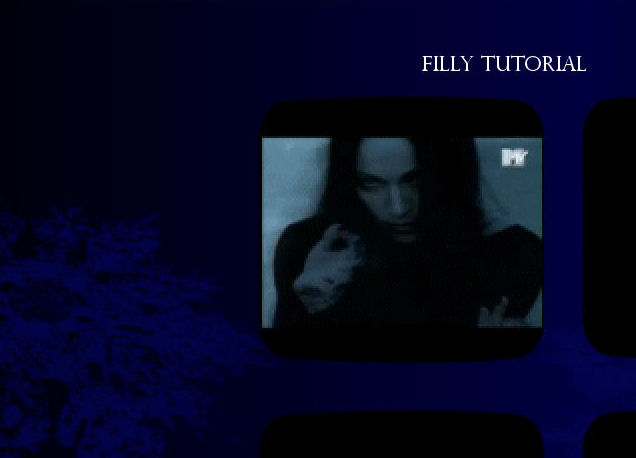
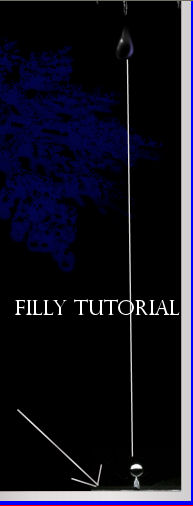
open tube
barbderksen_milesicicle select all and copy...
back to your first frame paste
it on the selected frame
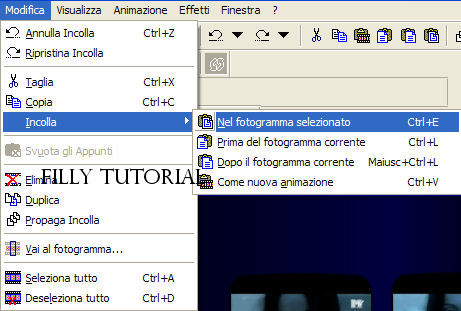
on the top (as shown
in the image here below)
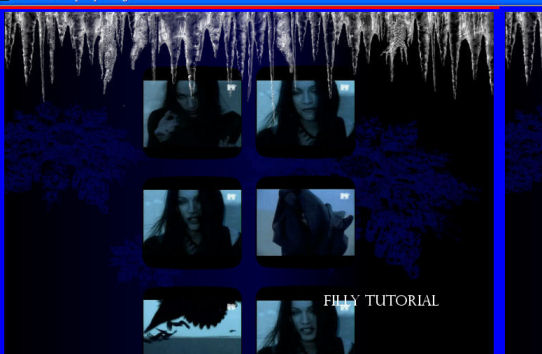
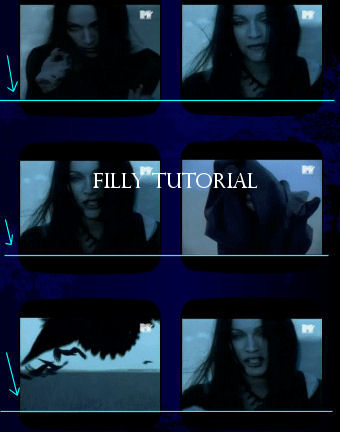
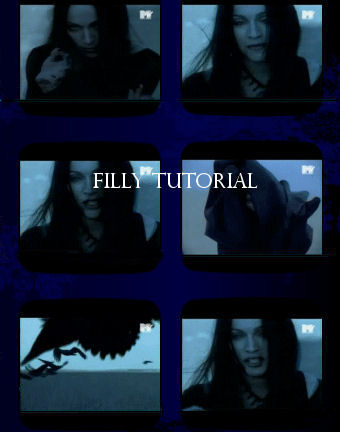
Open tube
filly_tube_goccie select all...copy and paste onto your first
frame on the Stalatite as shown on the image here below
Open the tube "frame" select
all ...go back to your tag and select all....copy...and paste
onto the "frame"
making sure you paste
correctly and that no
white is seen around the image
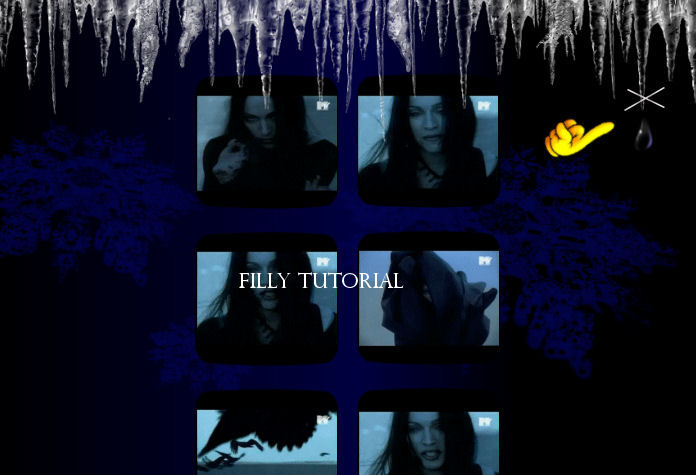
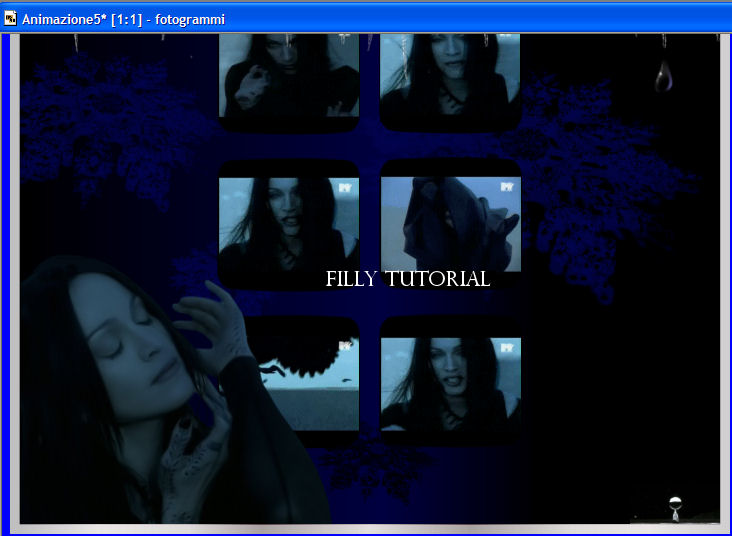
Open the second
tube filly_goccia position yourself back on the first frame
select all and paste in the selected frame,
be sure not to let
go of the mouse
until you are sure you have positioned it exactly where you want
it...see image below
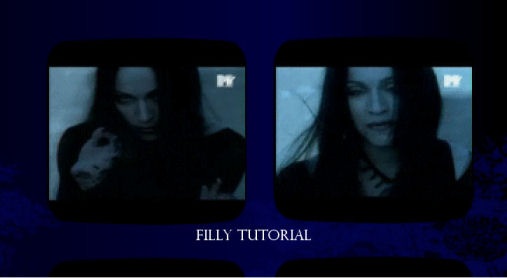
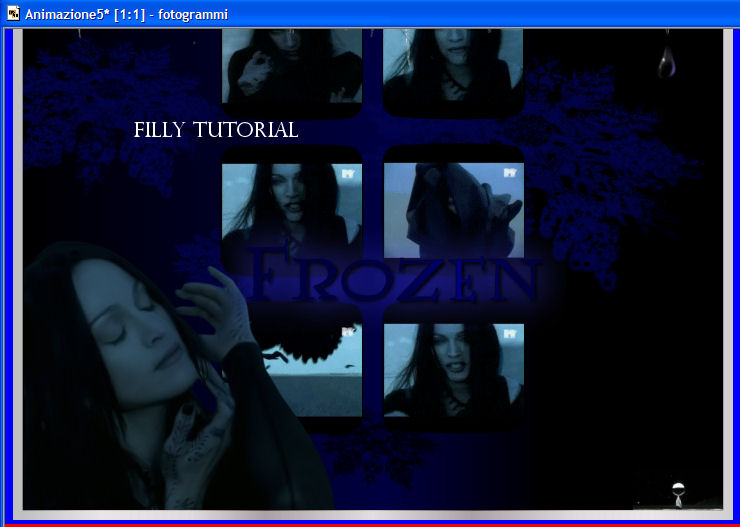
Open the tube
Madonna_frozen select and copy,
go back to your
first frame select all and paste onto your tag ,
as shown in the
image here below
Last, open the
"writing tube" select and copy...go back to your tag...select
all and paste on your first frame,
letting go of the
mouse the "writing" will
position itself in all the frames
You can add your
name to the tag,
remembering to
create it in Psp and duplicating it for a total of 10 time,
saving as psp, and
following the same
procedure as you did above, select it in AnimationShop,
copy and pasting it
onto your tag, following the same procedure you did for the tag
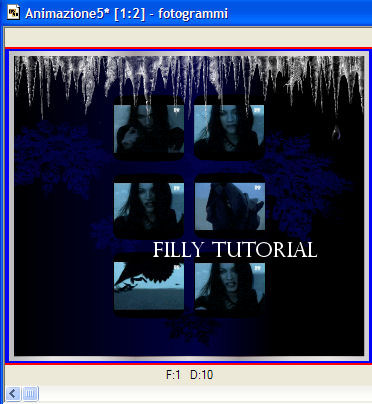
Now Select All
go to Animation,
Frame Properties and change
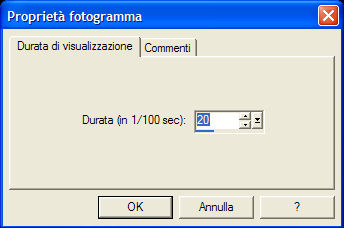
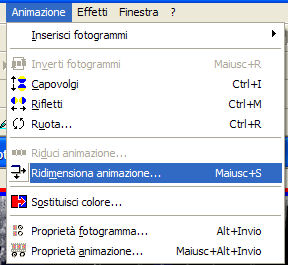
Last go to Reduce
Animation
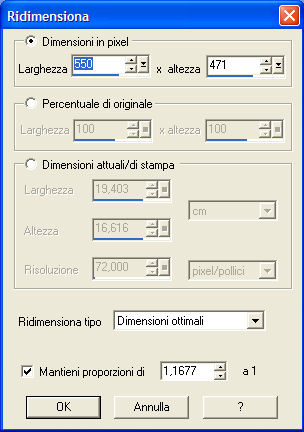
Insert the settings
as shown here below
Save your creation
and your tag is ready.