
What You
Will Need
Paint shop Pro 9 -
10
My supplies zip
Here
Plugin Almanthera
- A puddle
Here

Thanks Ines
for the translation in
English
This tutorial is my own creation, do not reproduce it on
other sites without my permission
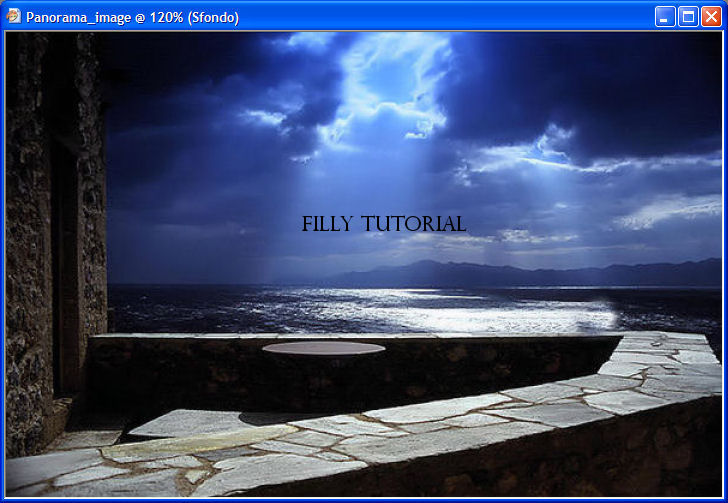
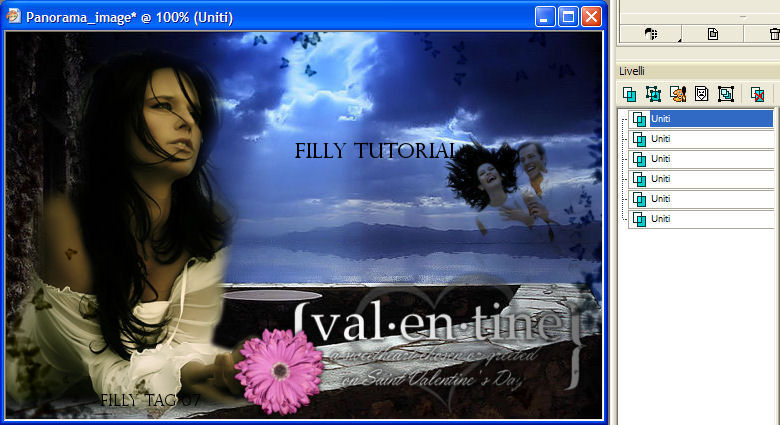
Open Panorama-image
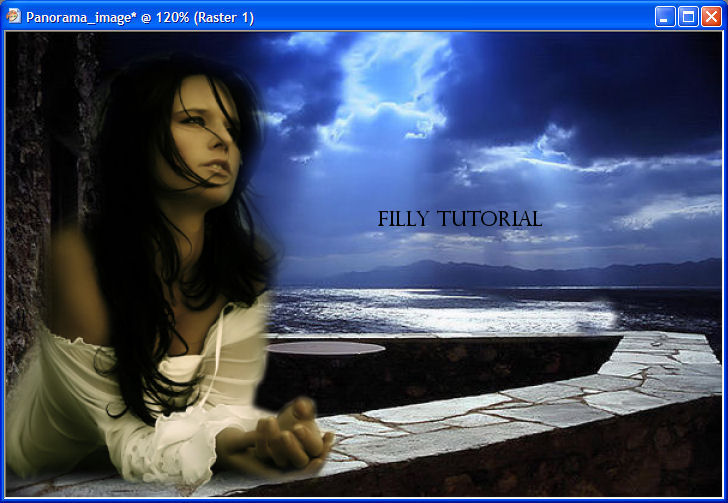
Open Misted_filly_(1400) In the Wind
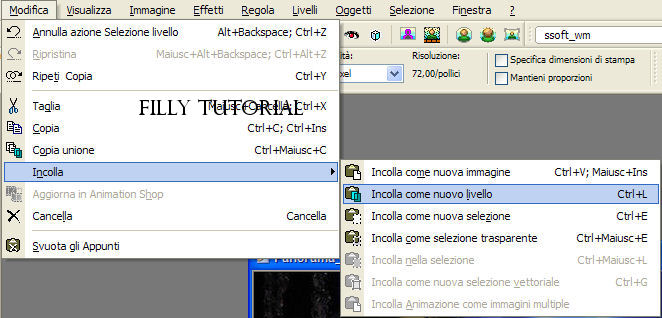
copy and paste as new level
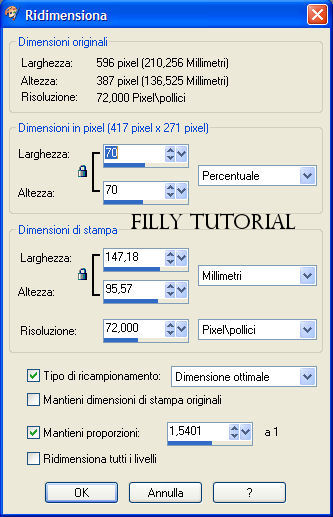
Resize with the following settings
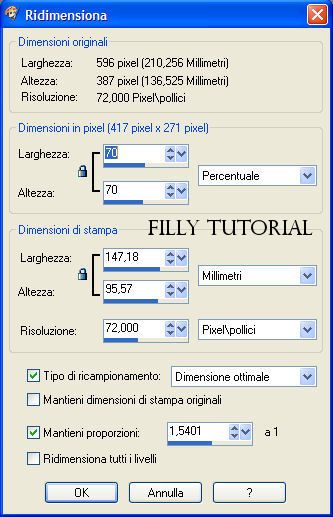
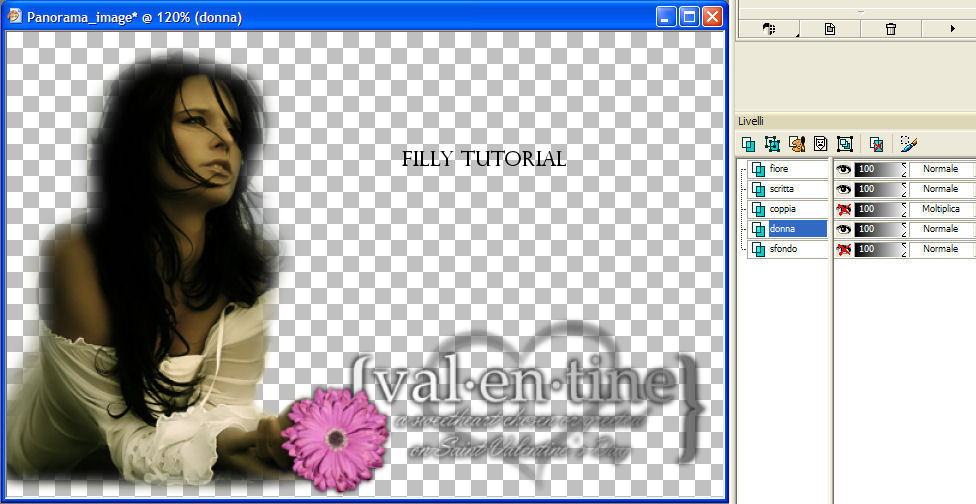
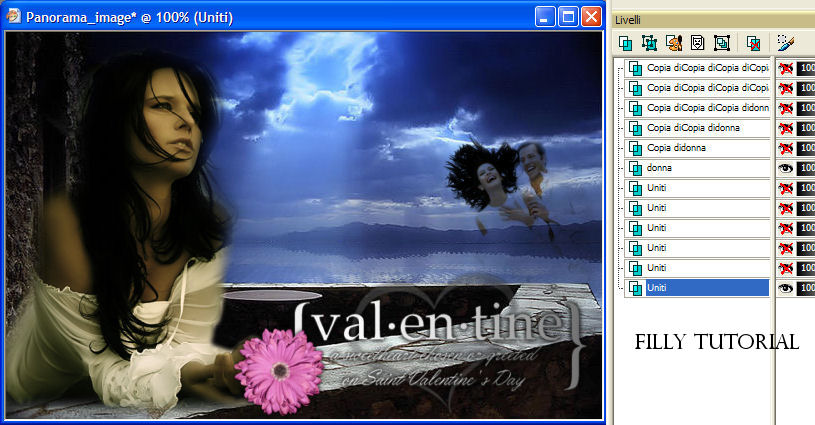
Put it on the left hand side see screenshot below
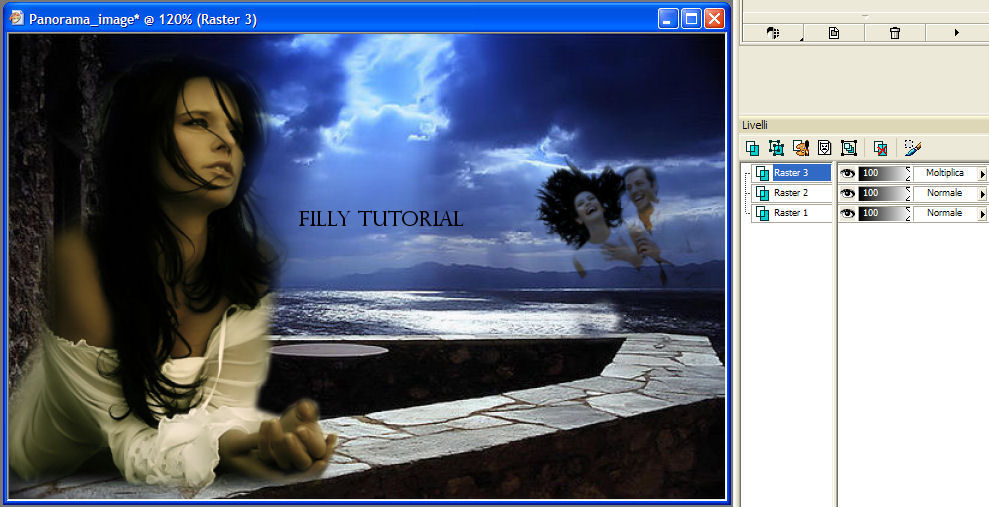
Open Misted_filly_Couple, copy and paste as a new layer and
position in as shown in the image below
In your layer pallet put this layer on Multiply
Resize as shown here below
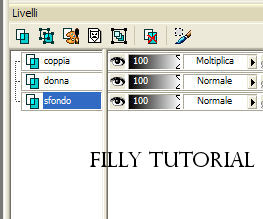
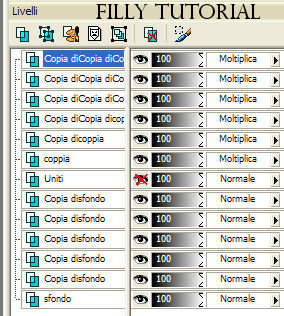
Rename your layers as shown in the screenshot below
New Raster layer
Open your brush tool and find the brush you downloaded in the
materials inclosed and use the below shown settings

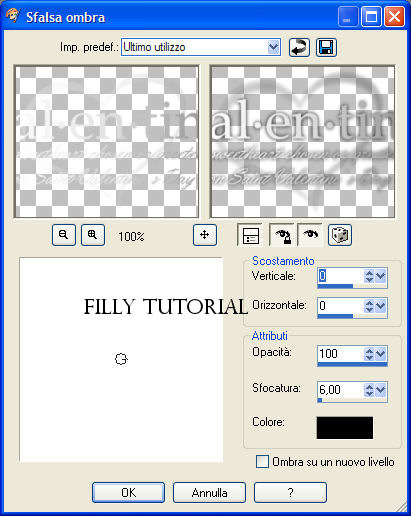
Apply drop shadow with the below settings
Reapply drop shadow with the same settings
Rename your layer "writing"
Open tube flower, copy and paste as a new
layer and rename this layer "flower"
Close the level background and the level couplè
Go to your layer palette and activate layer named "woman"
Apply
to this layer the same drop shadow you used before
apply the same drop shadow to the "couple" layer and to the
"diapositiva" layer
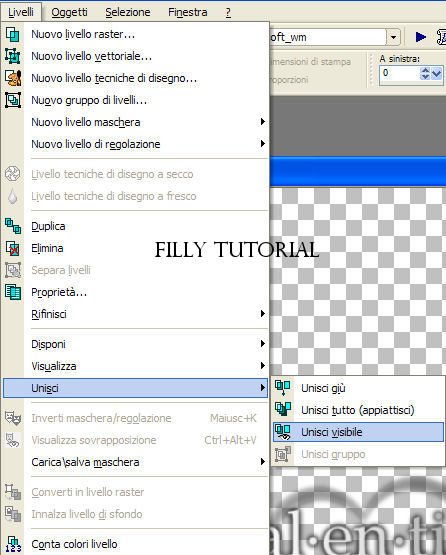
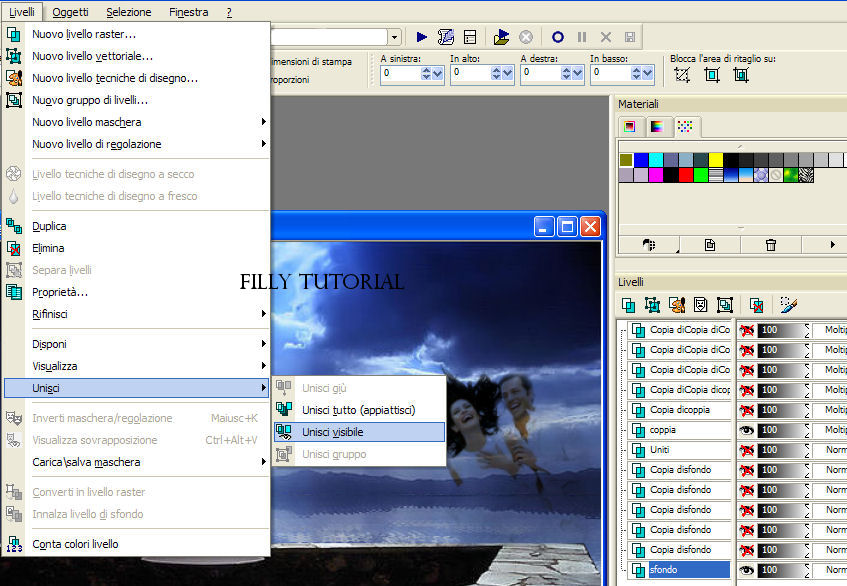
Merge visible layers as shown here below
Duplicate the "couple" layer for a total of 6 times
close out your "merged" layer and all your couple layers and
duplicate your background layer for a total of 6 layers
Go to your lazo tool with the following settings and select
the "sea" part of the image keep selected


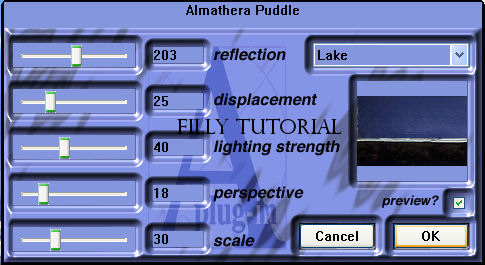
Go to your background layer and apply Almanthera Puddle with
scale setting at 30
do this for all the other background layers
changing from 30 to 25,
next layer 20,
next layer 15,
next layer 10
and the last layer scale settings 5
Close all layers except your first couple layer and your
first background layer.....merge visible
close out this layer and procede with all the others, 1 couple
and 1 background ...merge visible...do this until you have 6
merged layers
remember to close out the previous layer before merging the next
2 (couple and background)
Now open your "woman" layer and rename it "woman"
Duplicate this layer for a total of 6
woman layers
Now merge 1 background merged layer with 1 woman
layer...proceed until you have 6 layers again
always remembering to close the previous layer before merging
the next two
Go to your text tool....vector and use any font of your choice,
use also color of your choice and dimensions to your liking,
when you are done

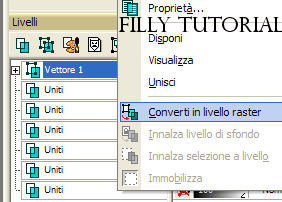
Convert this layer into a Raster Layer
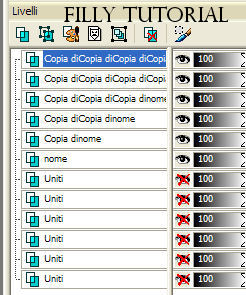
Again duplicate the "text" layer for a total of 6 times
and again merge 1 text layer and 1 merged layer together
having at the end a total of 6 layers again
(dont forget to close the previous layer before merging text and
background layer)
Open the "brush Template" copy it and paste it as a new layer
In your layer palette put the blend mode on
Luminance

Duplicate "brush Template" layer for a total
of 6 times

Merge 1 brush template and 1 background until you have again
6 layers
(follow the procedure you did with the other layers)
Open ALL layers and save as a pspimage
Open the saved image in Animation Shop
Select all open
tube "fiore_2"
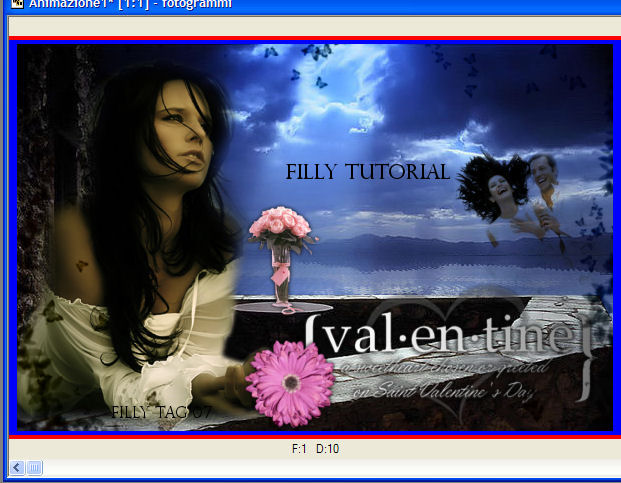
Select all copy and paste the "fiore_2" on to
your canvas
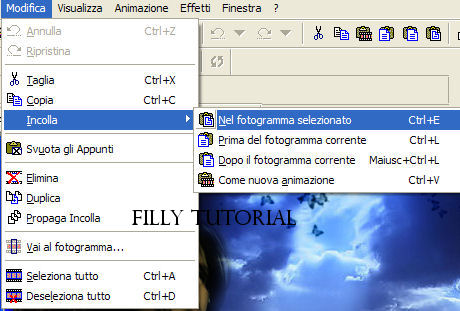
Letting go of the mouse when you have positioned the vase on the
table
Now go to Animation, frame property
and use the settings as shown here below
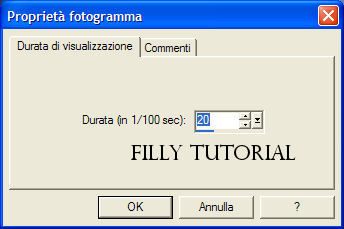
Save, and your tag is ready